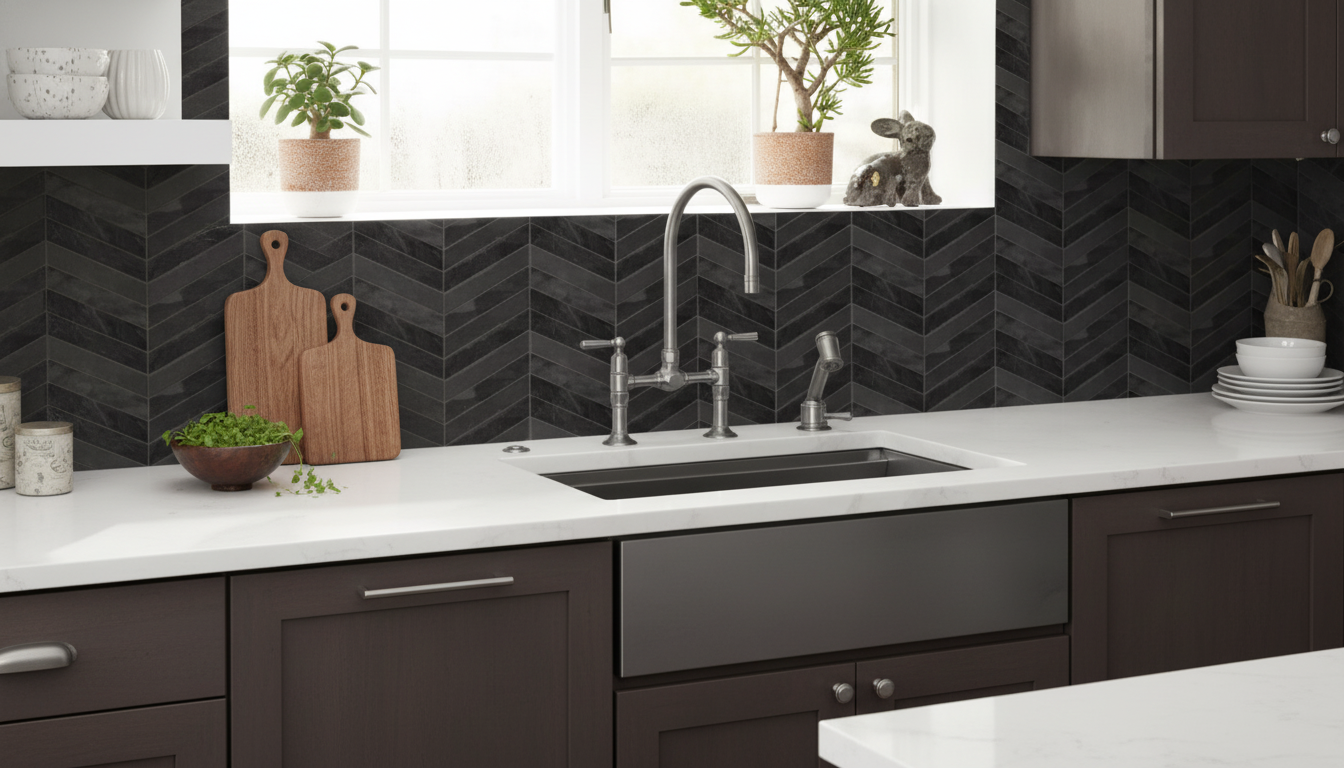
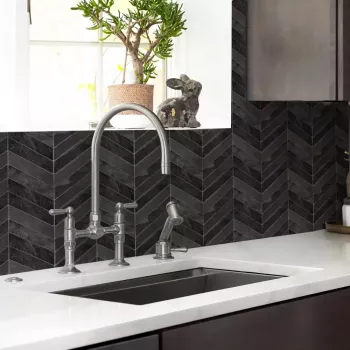
A fast way to refresh a backsplash without grout or specialized tools, peel-and-stick 3D wall tiles deliver a raised, dimensional look with a water-resistant surface that’s made for everyday splashes. The long-term result depends less on “how sticky it feels out of the box” and more on choosing the right spot and prepping the wall so the adhesive can fully bond.
Peel-and-stick 3D backsplash tiles are thin, lightweight wall panels with a textured face designed to mimic classic tile patterns (subway, stone, mosaic, and more). Instead of mortar, they use a pressure-sensitive self-adhesive backing intended for smooth, clean, dry, stable surfaces.
They’re commonly used for backsplash zones, vanity walls, laundry areas, and other rental-friendly updates where a permanent tile installation isn’t practical. While the face is typically water-resistant and wipes clean easily, edges and seams still need attention—especially in kitchens and bathrooms where water can work its way into gaps over time.
These tiles shine in areas that get light splashes, regular wipe-downs, and minimal direct heat. They’re a strong fit behind counters, around vanities, on accent walls, and even behind sinks as long as edges are protected and the wall stays dry behind the surface.
Use caution near high heat. Adhesives can soften or release when exposed to sustained temperature spikes, and open flame is a hard “no” for most peel-and-stick materials. Avoid installing inside showers, steam rooms, or any location with continuous direct spray unless the specific product is explicitly rated for that use.
Also avoid problem walls: flaky paint, crumbling drywall, heavy texture, or surfaces that are dusty or greasy. The adhesive can only bond to what it touches—if it’s bonding to grease or loose paint, it won’t last.
| Surface type | Suitability | Prep notes |
|---|---|---|
| Painted drywall (smooth, cured) | Best | Clean/degrease; ensure paint is fully cured and not chalky |
| Glossy paint | Good with prep | Lightly scuff-sand and wipe clean to improve grip |
| Existing tile (smooth) | Often good | Degrease grout lines; consider filling deep grout lines for a flatter bond |
| Textured walls (orange peel/knockdown) | Poor to fair | Texture can cause lifting; skim coat or use a smooth backing panel |
| Bare or porous drywall/plaster | Poor | Prime/seal first; porous surfaces can weaken adhesive bond |
| Backsplash area near stovetop | Use caution | Maintain clearance from heat; consider a heat shield or alternative material |
“Durable” with peel-and-stick is a combination of a tough face layer and an adhesive system that stays put through normal household conditions. A quality face layer resists splashes, wipes clean without staining, and doesn’t haze easily after repeated cleaning.
The raised 3D pattern does more than add style: it can hide tiny wall imperfections and give the installation a more finished look. Durability also depends on thickness and stiffness. More rigid panels are often better at bridging minor unevenness than very thin sheets that telegraph every bump.
Use caution: high heat and open flame can weaken adhesives and cause panels to lift. Follow your appliance clearance guidance, and consider a heat-resistant backsplash or protective panel if the area gets hot.
Textured walls often lead to edge lifting because the adhesive only contacts the high points of the texture, so smoothing or adding a flat backing helps. Existing smooth tile can work if it’s thoroughly degreased and deep grout lines are addressed for a flatter bond.
The surface is typically water-resistant, but seams depend on tight alignment and strong pressure during installation. For frequent splash zones, sealing perimeter transitions with bathroom-grade silicone helps protect edges and corners over time.


Leave a comment