HomeBlogBlogFrench Fry Cutter Replacement Blades (3 Sizes, Stainless)

French Fry Cutter Replacement Blades (3 Sizes, Stainless)

French Fry Cutter Replacement Blades (3 Sizes, Stainless)

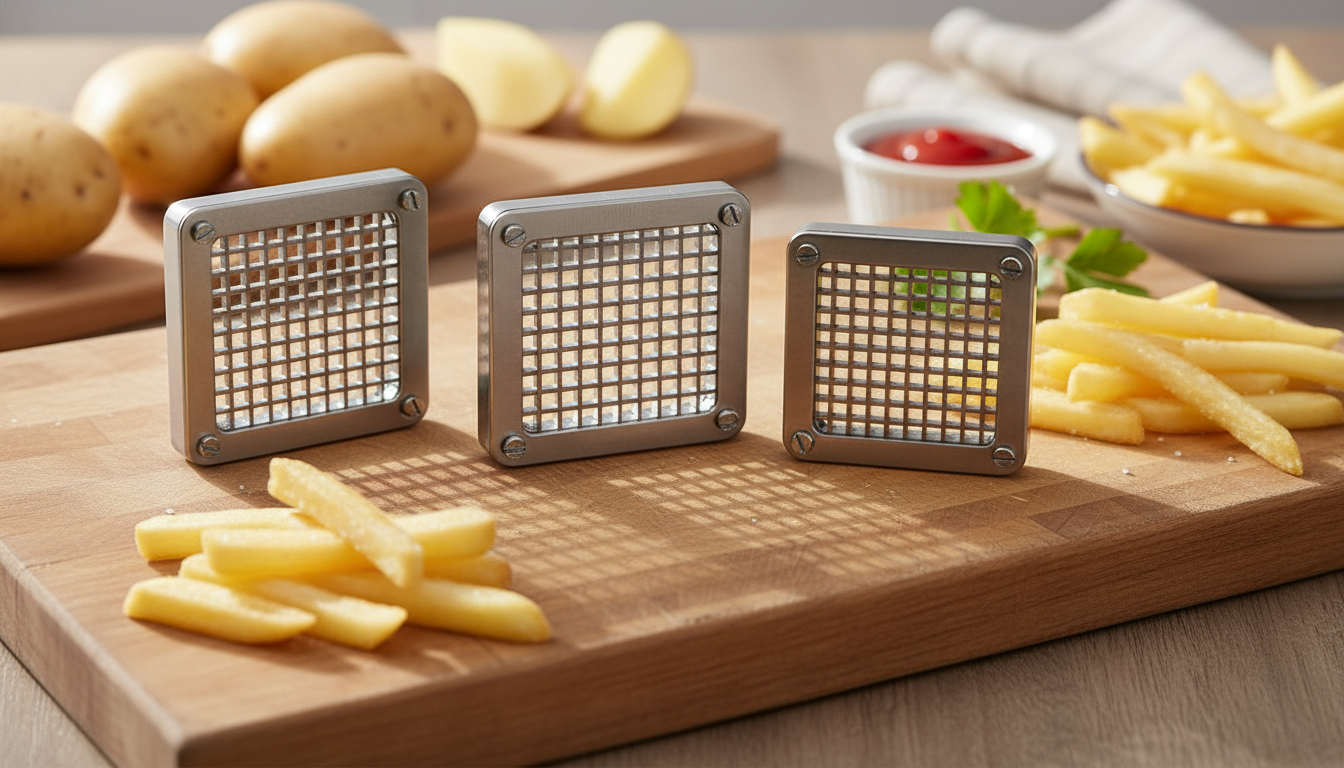
3/8, 1/4, 1/2 Inch French Fry Cutter Replacement Blades – Stainless Steel Set

Worn or bent cutter grids can turn potato prep into a frustrating chore—uneven fries, jammed plungers, and more force than should be necessary. A stainless steel replacement blade set restores clean, consistent cuts and helps keep a fry cutter working like it should across multiple fry sizes. Whether the goal is thin, extra-crispy fries or thick steak-cut potatoes that hold up to toppings, swapping a tired grid for a sharp, properly seated replacement can bring a cutter back to smooth, predictable performance.

What’s Included in the Stainless Steel Replacement Blade Set

This replacement blade set is designed to refresh the cutting side of a French fry cutter without replacing the entire unit. It’s a practical fix when the frame and handle mechanism still feel solid but the grid has dulled, warped, or picked up damage from jams.

  • Three grid sizes for common fry thicknesses: 1/4 inch (thin), 3/8 inch (classic), and 1/2 inch (steak-cut).
  • Stainless steel cutting grids built for repeated pressing and routine washing.
  • A smart replacement option when cuts look crushed or uneven but the cutter body is still in good working order.
  • Best results typically come from pairing the grid with a compatible pusher block so each press drives food completely through the grid.

Blade Size Guide for Common Cuts

Blade size Cut style Best for Notes
1/4 inch Thin fries Fast cooking, extra crisp edges More prone to breakage with very starchy or older potatoes; rinse and dry for crispness
3/8 inch Standard fries Balanced crisp exterior and fluffy center Good everyday size for air fryer or deep fryer
1/2 inch Thick/steak fries Hearty texture, softer interior May need longer cook time; par-cooking helps even doneness

Compatibility Checks Before Buying

“Same cut size” doesn’t always mean “same fit.” Before ordering, confirm that the replacement grids match the cutter’s physical mounting and the pusher’s alignment. A grid that’s slightly off can sit crooked, cut unevenly, or bend under pressure.

  • Match the cutter brand/model whenever possible; many cutters use unique mounting dimensions even when the grid size sounds identical.
  • Measure the current grid’s outer width/height and compare it to the cutter frame opening—small differences can prevent proper seating.
  • Confirm how the grid is secured (screws, slide-in rails, latch plate) and whether any hardware is required.
  • Check pusher alignment: the pusher block must line up with the grid squares so food is driven straight through instead of wedging and bending blades.
  • If the cutter has an integrated grid (not removable), a replacement grid may not be suitable without a compatible housing.

How to Choose the Right Blade Size for Your Kitchen

Choosing a grid size is mostly about texture, cook time, and what equipment gets used most often. If multiple people in the house like different fry styles, having all three sizes on hand can prevent “one-size-fits-all” compromises.

  • Choose 1/4 inch for maximum crispness and quick batches; ideal for shoestring-style fries and vegetable sticks like carrots or zucchini.
  • Choose 3/8 inch for the most versatile option; works well across baking, air frying, and deep frying without feeling too thin or too thick.
  • Choose 1/2 inch for thicker cuts and loaded fries; holds up better under toppings and reheats more pleasantly.
  • For mixed households, a set with multiple sizes avoids forcing one thickness to fit every recipe.
  • If the cutter struggles with large potatoes, halve potatoes lengthwise before pressing to reduce strain on the grid.

Installing Replacement Grids Without Damaging the Cutter

A careful install protects both the new grid and the cutter frame. Most bent blades happen when the grid is slightly mis-seated or the press starts at an angle.

  • Stabilize the cutter (especially if wall- or counter-mounted) and work on a flat surface to avoid slips.
  • Remove the old grid and clean the seating area so the new grid sits flush; trapped debris can cause misalignment and premature bending.
  • Install the grid with the cutting edges oriented correctly (the cutting side faces the direction the food is pressed).
  • Tighten any fasteners evenly; uneven tightening can twist the grid and create inconsistent cuts.
  • Test with a soft item first (such as cucumber) to confirm alignment before pressing dense potatoes.

Care, Cleaning, and Longevity Tips

Stainless steel grids last longest when starch and moisture don’t get a chance to harden inside the channels. Prompt cleaning also helps keep cuts clean because residue can drag and crush instead of slice.

After cutting, keep food-contact surfaces clean and sanitized using sound kitchen practices. For broader guidance on cleaning and sanitizing basics, the FDA Food Code is a helpful reference: FDA Food Code (Food Code 2022).

Troubleshooting Common Cutting Problems

For cooking safety when fries are served alongside meat or poultry, it can be useful to follow reliable temperature guidance for the rest of the meal. The USDA provides a clear minimum internal temperature chart here: USDA FSIS Safe Minimum Internal Temperature Chart.

FAQ

Will these replacement blade grids fit any French fry cutter?

Not universally. Confirm your cutter’s model and compare the grid’s outer dimensions, mounting method, and pusher alignment, since even the same cut size can vary by frame design.

Which size is best for air fryer fries: 1/4, 3/8, or 1/2 inch?

3/8 inch is the most forgiving for air frying and tends to crisp well without drying out. Use 1/4 inch for extra crispness (watch for faster browning) and 1/2 inch for thicker fries that need more time and more frequent shaking/turning.

How should stainless steel fry cutter grids be cleaned?

Rinse right after cutting, brush gently along the channels, avoid metal tools that can nick the edges, and dry completely. Prompt cleaning keeps starch from hardening in the grid squares.

Was this article helpful?

Yes No
Leave a comment
Top

Yay! 10% Off Just for You!

Join our community and enjoy 10% off your first order. Subscribe for exclusive deals!

Shopping cart

×